PRICE :
PRICE 100ML :
PRICE 100ML :
PRICE :
MICROSCOPE 60X WITH CLIP :
PRICE :
The Most Sold
COMPLETE CATALOGUE OF INDOOR AND OUTDOOR GROWING EQUIPMENT:
In Grow Shop Calle25 we present you the complete catalogue of growing material available on the web. In this section you can buy all the necessary material for your indoor cannabis cultivation or outdoor cannabis cultivation.
INDOOR CANNABIS GROWING TENTS
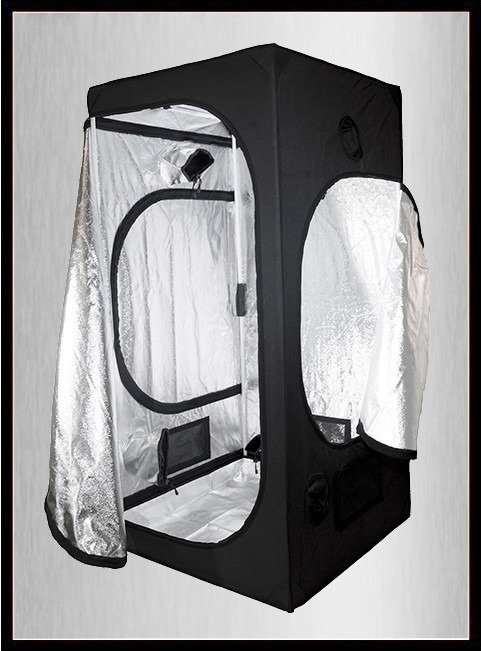
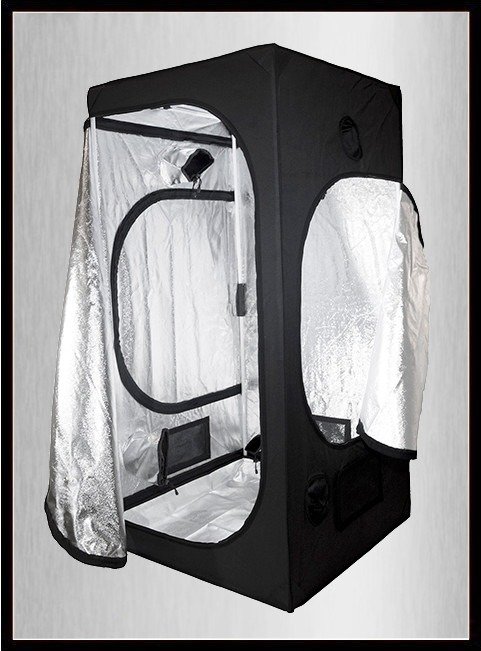
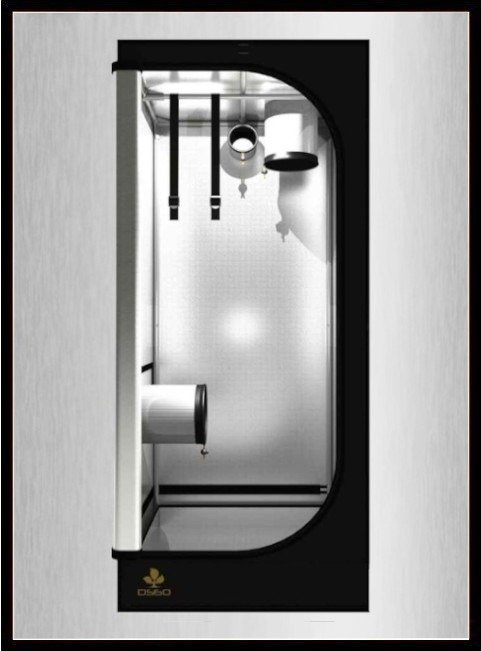
The tent grow tents are a metal and fabric structure, very easy to assemble. The inside of the fabric is coated with reflective Mylar plastic to spread the light from the lighting system throughout the grow room. They have their corresponding air inlet and outlet holes, ventilation grilles and there are models that have side windows. The tent is completely closed by a zip.
We can find tents of different sizes, from small grow tents for growing 3 plants to large indoor grow tents for 20 plants. Depending on the size, the price varies, the smaller the size, the cheaper the grow tent.
- GROWING TENT 60
- GROWING TENT 80
- GROWING TENT 100
- GROWING TENT 120
- GROWING TENT 145
- GROWING TENT 240
The number of each indoor tent refers to its size.
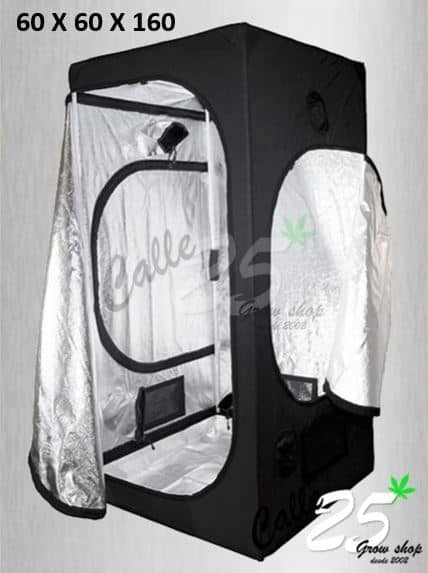
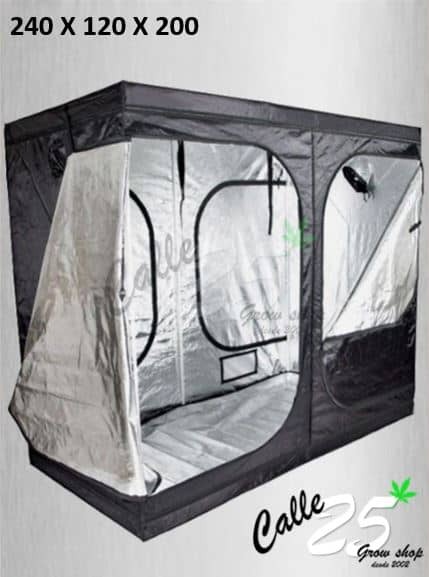
Different tent indoor grow tents of different brands are available:
- Growing Tent Dark Box
- Growing Tent Dark Street
- Growing Tent Garden High Pro
- Growing Tent Hortigarden
- Growing Tent Mammoth
- Growing Tent Pure Tent
- Growing Tent Secret Jardin
Indoor grow tents are the perfect option for those who already have the material and only need the structure for growing, and to be able to create the environment. In the case that we do not have all the material, we recommend buying an indoor grow tent kit, because we will have all the necessary material to carry out our crop, and if we acquire all the material separately it may involve higher costs.
COMPLETE INDOOR GROW TENTS KITS
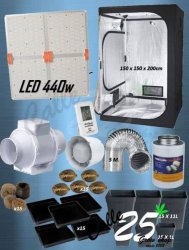
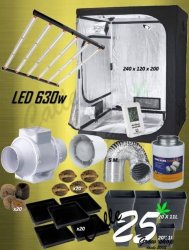
The indoor grow tent kits are ideal for growing your own cannabis plants. Each kit contains the necessary material, adapted to each surface so that you will get a complete growing tent ready to install and grow your crop.
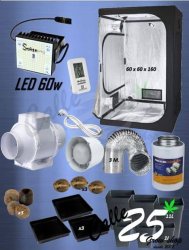
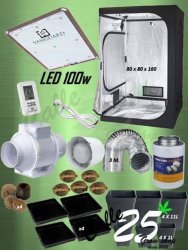
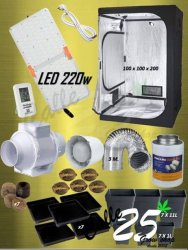
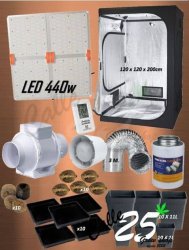
The complete tent grow tents are equipped with their corresponding lighting kits, extraction system, carbon filters, different sizes of pots, thermohygrometers, peat tablets, wiring, among many other things. In addition, in each complete tent kit, we add as a gift the seeds, that is to say, if you decide to buy a complete tent 120 we give you 10 seeds, as these are the amount of seeds that you can grow in this size of grow tent.
- COMPLETE GROW TENT KIT 60
- COMPLETE GROW TENT KIT 80
- COMPLETE GROW TENT KIT 100
- COMPLETE GROW TENT KIT 120
- COMPLETE GROW TENT KIT 145
- COMPLETE GROW TENT KIT 240
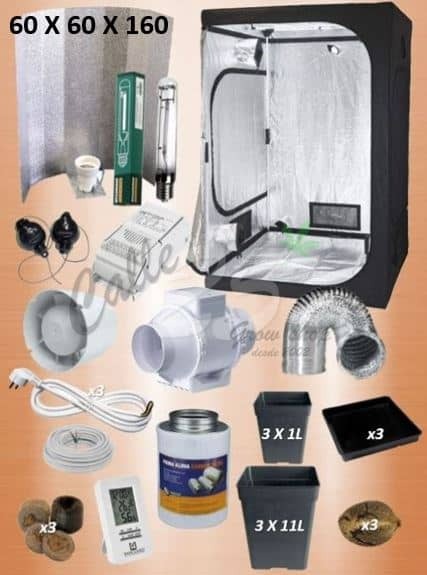
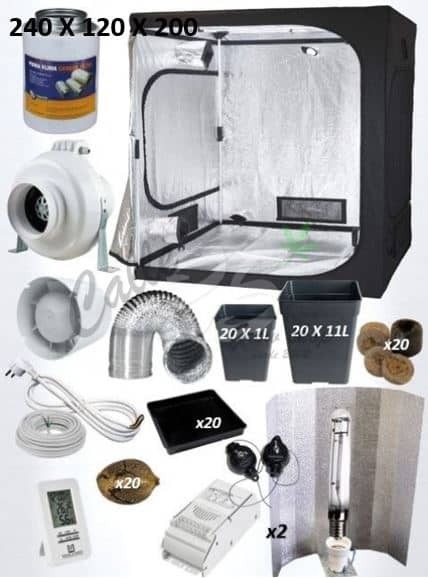
Indoor grow kits by default come with a sodium lighting system and mixed bulbs, which emit colour in order to develop the growth and flowering of the plant.
INDOOR GROWING TENTS COMPLETE LED KIT
As well as conventional indoor tent kits, we also offer the possibility to buy LED grow kits, so you can save on electricity.
The LED cultivation kits have been adapted according to the size of the grow tent, so that the operation is correct, due to the fact that the LED systems cause less heat, the extraction systems have been adapted.
- COMPLETE LED GROW TENT KIT 60
- COMPLETE LED GROW TENT KIT 80
- COMPLETE LED GROW TENT KIT 100
- COMPLETE LED GROW TENT KIT 120
- COMPLETE LED GROW TENT KIT 145
- COMPLETE LED GROW TENT KIT 240
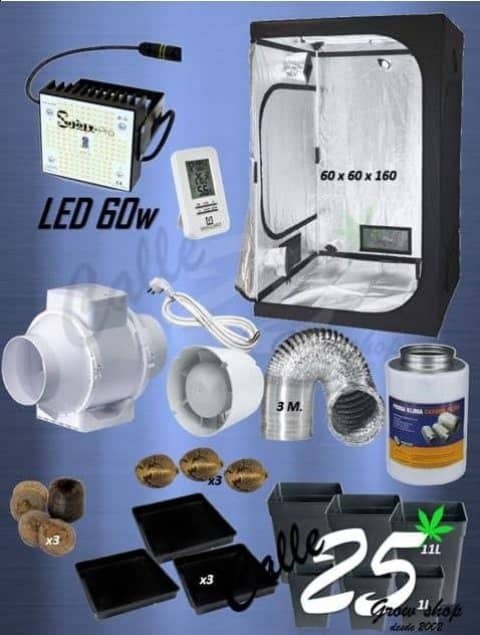
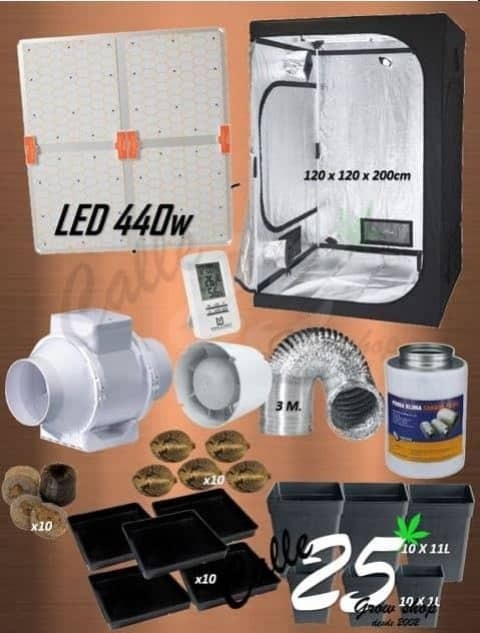
If you are hesitating to buy a LED grow tent, we recommend you to visit our blog, so you can learn more about LED growing and choose the one that best suits your indoor growing needs.
BASIC GROW TENT KIT
For those growers who have material, or those who do not need the complete tent, we offer the basic indoor grow tent kits. The basic kits include just enough material to be able to grow, such as the tent, lighting and extraction system and pots, in other words, the basic material for your indoor growing. If you decide to buy a basic grow kit, you will be able to grow your cannabis plants, and you will have a cheap grow tent.
- BASIC GROW TENT KIT 60
- BASIC GROW TENT KIT 80
- BASIC GROW TENT KIT 100
- BASIC GROW TENT KIT 120
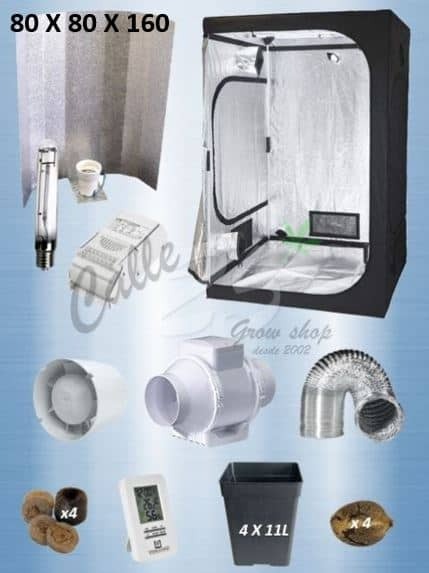
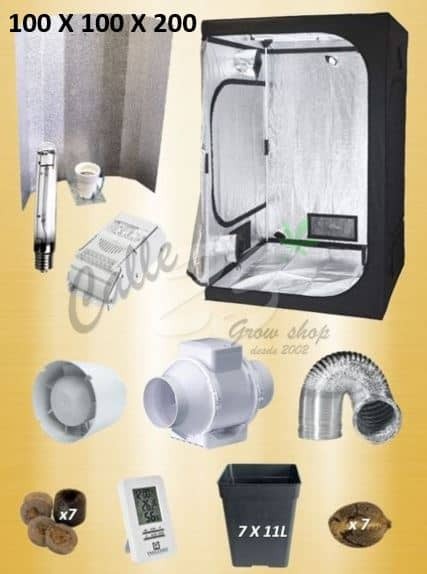
With the basic grow kits you can grow your crop without any problems, choosing the indoor grow tent that best suits your needs, small indoor grow tents or large indoor grow tents.
REFLECTIVE PLASTICS
Reflective plastic is used to reflect and distribute light throughout the grow room. If as a grower you have your own grow room and you do not have a tent, but you do have all the necessary equipment for indoor growing, we recommend covering all the walls of your grow room with reflective plastic.
We can find different types of reflective plastic:
- Plain reflective plastic
- Reflective plastic hammered
The more light diffusion the reflective sheeting causes, the more light the plants will receive and the better the harvest, which is why reflective sheeting for plants is highly recommended to add to your indoor grow room.
LIGHTING
Lighting in indoor cannabis cultivation is one of the most important factors, because if our plants do not receive the type of light they need, we will not achieve the correct growth so that they produce and develop as they would with the right light colour, temperature... thus causing us to fail in the crop.
The lighting systems consist of a bulb, ballast (transformer) and ceiling (reflector), so that the ballast transforms the energy of the current so that the bulb we use is functional, while the ceiling is responsible for reflecting the light from the bulb throughout the area.
Ballasts
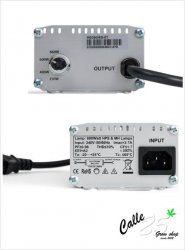
At Calle25 you will find magnetic ballasts and digital ballasts. We offer models of open magnetic ballast, closed magnetic ballast, magnetic ballast with cable, electronic ballast, digital dimmable ballast, LEC ballast...
We differentiate between magnetic and digital ballasts, but above all the most characteristic differences are in the wattage they provide.
- MAGNETIC BALLAST 250W
- MAGNETIC BALLAST 400W
- MAGNETIC BALLAST 600W
- MAGNETIC BALLAST 600W OPEN
- MAGNETIC BALLAST 1000W
- ELECTRONIC BALLAST 600W
- ELECTRONIC BALLAST REGULABLE
- ELECTRONIC BALLAST LEC
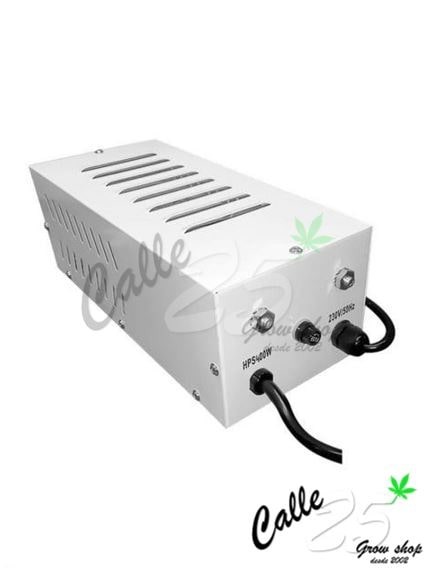
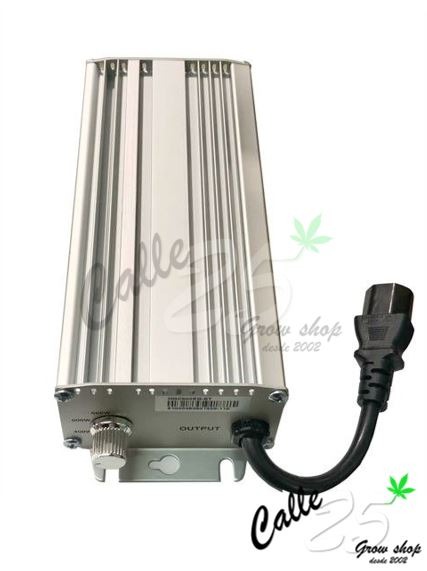
Depending on the surface we have available for our indoor growing, we will need some watts or others, that is why we recommend you to visit our blog about types of ballast, so you can learn more about it.
BULBS / LAMPS
Like ballasts, lamps are characterised by Watts (watts), 250W bulb, 400W bulb, 600W bulb or 1000W bulb.
- BULB 250W
- BULB 400W
- BULB 600W
- BULB 1000W
We will use the lamp that best suits our indoor growing area, to find out take a look at "How many watts do I need for my crop".
However, not only do we need to know how many watts we need for our indoor growing, the colour of the light emanating from the lamp will be an indicator of whether our plants are in one phase or another.
Types of bulbs
There are bulbs/lamps for the growth phase, flowering phase or even mixed bulbs (these are the most commonly used).
Growth bulb: MH (Metal Halide) bulbs for growth emit a white/blue light, which helps the growth of the plants to develop.
Bulb for flowering: HPS (High Pressure Sodium) lamps for the flowering phase emit a reddish-coloured light, thus providing the necessary light colour for our plants to flower and load up with buds.
Mixed bulb: Mixed lamps (Grolux) offer us the possibility to cover the light needs during the whole cultivation. Composed mainly of Sodium and a small part of Metal Halide, they emit a light with an orange tone and bluish spectrum so that the plants can develop correctly during the growth phase and the flowering phase, without the need to change bulbs.
- GROWTH BULB
- FLOWERING BULB
- MIXED BULB
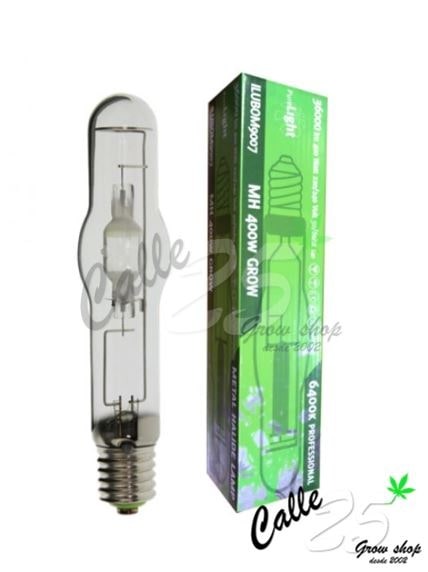
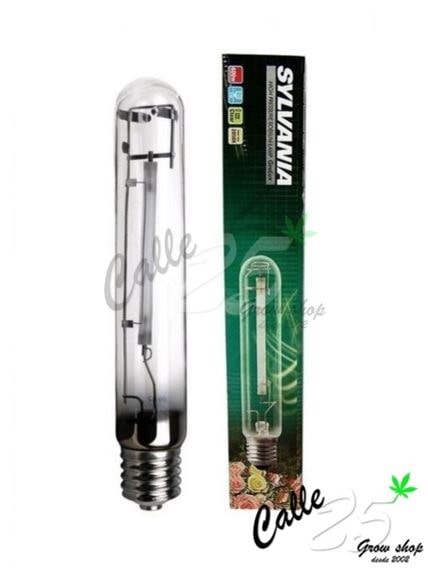
These bulbs for indoor growing are called discharge bulbs because they contain heavy metal gases and are currently the most commonly used bulbs for indoor growing. However, we can also find energy saving lamps.
LOW CONSUMPTION BULBS
Energy saving bulbs, also called CFL lamps, are lamps intended for indoor growing in small spaces. These bulbs incorporate the ballast so that it is not necessary to buy transformers for indoor growing, just place it in the reflector and plug it into the mains. It is a much simpler option if you are thinking of growing in small spaces, as they offer lower wattage options.
We can find different energy saving lamps for indoor growing:
- Low consumption CFL bulb 150W
- CFL low consumption bulb 200W
- Low consumption CFL bulb 250W
Like discharge bulbs, CFL bulbs are differentiated according to the type of colour they emit and the stage of cultivation for which they are intended.
- CFL GROWTH BULB
- CFL FLOWERING BULB
- CFL MIXED BULB
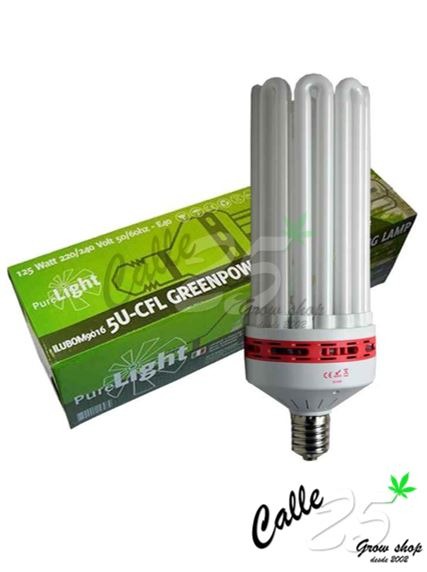
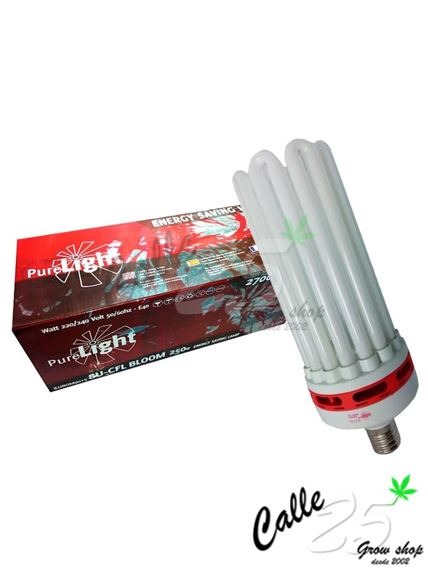
All CFL bulbs have an E40 socket base, so it is compatible with any reflector/plafon, as are 99% of all bulbs.
ALUMINIUM REFLECTOR
Aluminium reflectors are used to reflect the light from the bulb so that we can cover all the necessary surface area. Each reflector is differentiated by its size; the larger the reflector, the larger the indoor growing area we can cover.
- STUCO REFLECTOR
- REFLECTOR ALUMINIUM MICRODOT XL
- REFLECTOR ALUMINIUM ADJUST A WINGS ENFORCER
In addition to the size of the reflector, the most important thing is the level of reflection that it can offer us. The more granular the reflector is, the more penetration the light will achieve between our plants, thus achieving an increase in the production of our indoor cultivation.
- REFLECTOR ALUMINIUM SMOOTH
- REFLECTOR ADJUST A WINGS AVENGER
- REFLECTOR ADJUST A WINGS LARGE
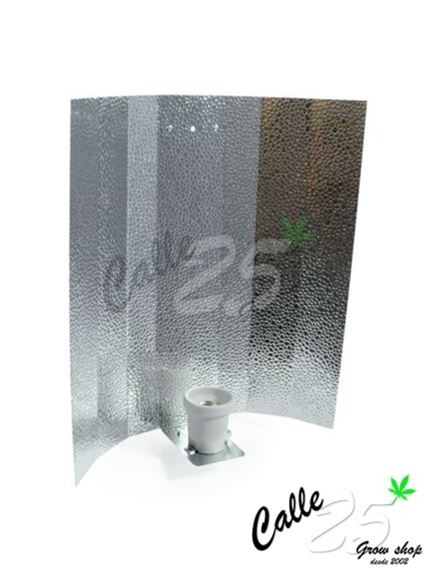
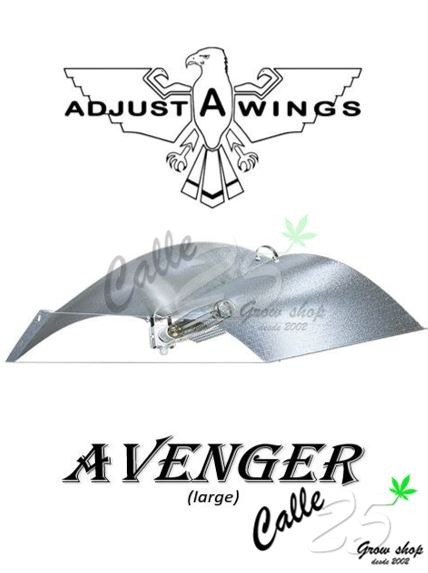
When the heat arrives, one of the main problems in indoor growing is the heat. That's why the Cooltube ceiling and the CoolWings reflector have come up with an incredible system. In these reflectors we can place some extractor tubes towards an extractor, so that we can get the right temperature. With this type of reflectors, Cool Tube and Cool Wings, we will be able to lower the temperature of our indoor cultivation between 2 - 4ºC.
LIGHTING KITS
For ease of choice, Calle25 provides you with different lighting kits which include bulb, ballast and reflector, and accessories for the lighting kit, such as Easy Rollers and the necessary cables for their use.
Lighting kits as well as ballasts and lamps are distinguished by wattage.
- LIGHTING KIT 250W
- LIGHTING KIT 400W
- LIGHTING KIT 600W
Depending on the cultivation area we have, we will have to choose the one that is useful for us.
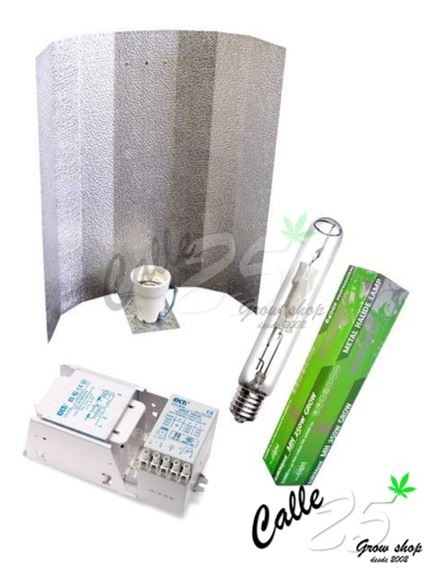
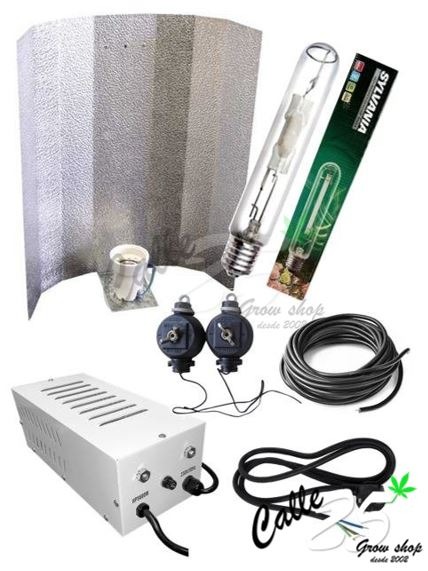
Just as we can choose bulbs for growing, flowering and mixed, we can also choose bulbs for lighting kits. Depending on the lighting kit we want, we can choose between the bulbs we need in each phase and by brand.
- GROW LIGHTING KIT
- FLOWERING LIGHTING KIT
- MIXED LIGHTING KIT
LED SYSTEMS
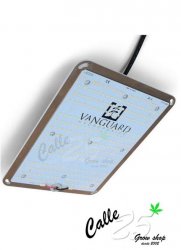
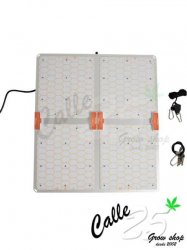
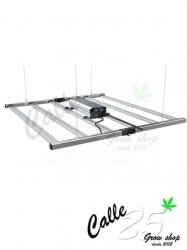
Just as indoor cannabis growing techniques are advancing, there is no doubt that technology is advancing as well. As the years have gone by, much more importance has been given to the development of cannabis, which is why technology companies have decided to do their bit in the manufacture of innovative material such as LED systems.
The evolution of the LED systems has been a blink of an eye, the change that has been made to achieve better harvests, better product quality and higher production has been remarkable.
If you are considering purchasing an LED system, I recommend that you take a look at what to know before buying an LED system.
The manufacture of LED systems is increasing and we can find a wide variety of LED systems, such as:
- SOLUX LED SYSTEM
- LED IGNATOR SYSTEM
- LUMATEK ZEUS PRO LED SYSTEM
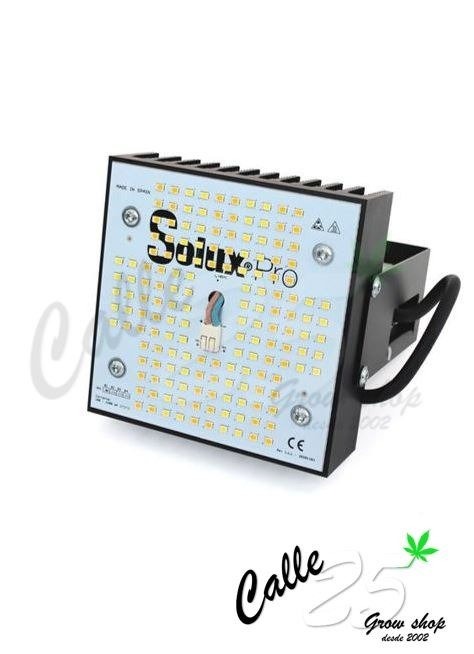
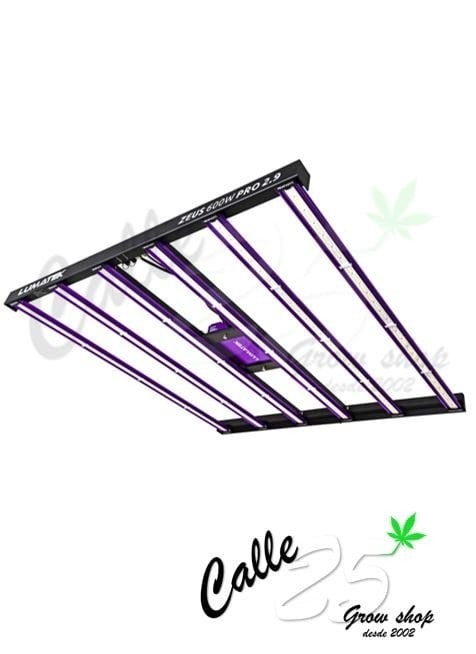
Unlike conventional bulbs, the wattage of LED systems differs depending on the surface area of the crop. To find out which LED wattage you need for your surface area, visit our blog.
Most LED systems come with a ballast included, and installation is very easy, just plug the cable into the mains and... the light is ready.
We must look at the characteristics of each LED lighting system for its correct use.
CLIMATE CONTROL
After light, the temperature at which our cannabis plants are grown is another of the most important parameters to control. Cannabis should have a temperature between 19º - 26ºC and in the case of growing with a lighting kit in an enclosed space, the temperature would increase to the point where we could even lose our harvest. This is why we need to renew the air, as well as providing fresh air so that our plants can photosynthesise better.
In the Climate Control section, you will find the necessary material to extract and renew the air, increase and decrease the humidity, remove the air, meters to know the temperature and humidity level of the indoor cultivation or connection accessories.
AIR EXTRACTORS
Air extractors are necessary to be able to extract the hot air from our indoor cultivation. It is placed in the upper part of the tent because the heat tends to be positioned in the upper parts of the rooms, that way we will be able to extract the hot air from our grow room.
Depending on the size of our tent or room, we will need to extract more or less air, a 60 x 60 tent is not the same space as a 240 x 240 tent, being a space three times bigger we will use more powerful extractors, that is why we will have to know how many m3/h we need to extract. For this we recommend that you visit "How to calculate the power of my extractor fan".
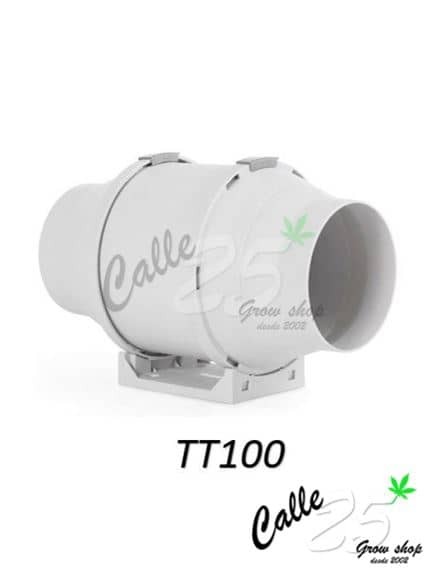
The extractors are also differentiated by the diameter of the mouth, we can find from extractors TT 100 (the number refers to the cm that measures the diameter of the mouth) to extractors of more than 300.
Remember that this does not mean that a TT 100 extractor fan is smaller and less powerful than a TT 150 extractor fan, for example, and therefore we have to use one size or another depending on the space. We will know which one to use depending on the m3/h to be extracted from the room.
Each extractor fan has more or less power, once we have calculated the amount of air we need to extract, we will look for the extractor fan that has the power to extract the amount of m3/h that we need to extract.
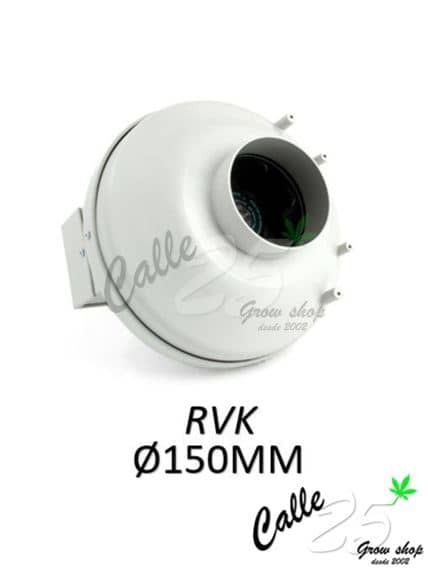
- TT100 EXTRACTOR
- BLAUBERG 125 EXTRACTOR
- RVK 150 EXTRACTOR
IN-LINE EXTRACTORS
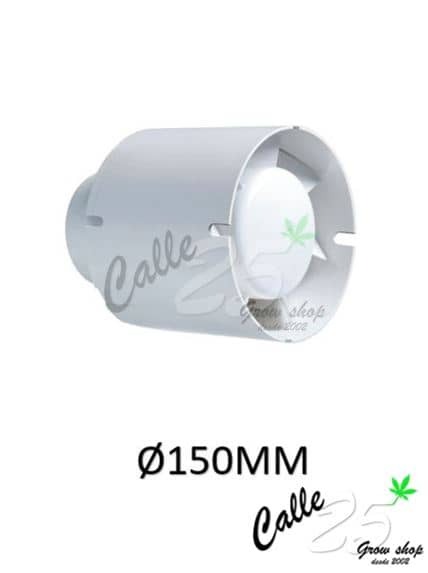
In the same way that we need to extract the hot air from our indoor growing, we also need to introduce fresh air so that all this air is renewed. For this we use in-line extractors, also known as 'intractors'. Just like the air extractors we differentiate them by their mouth diameter.
To find out what 'intractor' you need, you need to calculate how much air needs to be extracted and how much air needs to go in, to find out how this is done have a look at "How to calculate the power of my extractor fan".
- IN-LINE EXTRACTOR 100
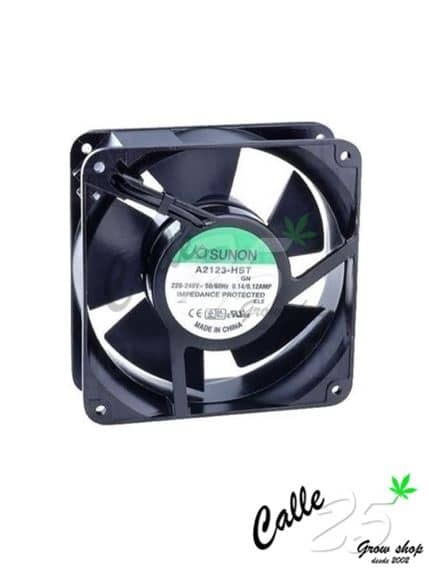
- SUNOM 125 EXTRACTOR
- IN-LINE EXTRACTOR 150
Air renewal is a very necessary process for the correct development of our plants, so we recommend placing the air inlet on the opposite side to where the air outlet is, in this way we will improve the air currents.
HUMIDIFIERS / DEHUMIDIFIERS
Humidity is a very important parameter, at low levels it can slow down the growth of our plants a lot, and at high percentages it can totally ruin our harvest.
During the growth phase, the humidity should be between 55-75%.
During the flowering phase, the humidity percentage should be lower, between 45 - 55%, in order to avoid the appearance of mould and fungus on the buds.
The functionality of humidifiers and dehumidifiers is very simple. Ultrasonic humidifiers transform the water stored in the tank into steam, thus raising the humidity level, while dehumidifiers absorb humidity from the environment and transform it into water that is stored in the tank, lowering the humidity percentage.
- MIST MAKER HUMIDIFIER
- ULTRASONIC HUMIDIFIER 4 LITRES
- HUMIDIFIER 8 LITRES
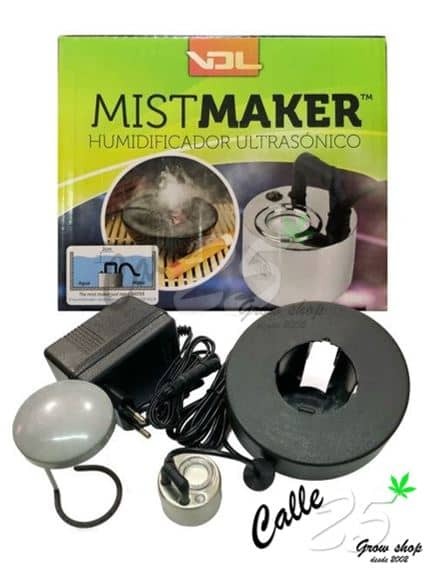
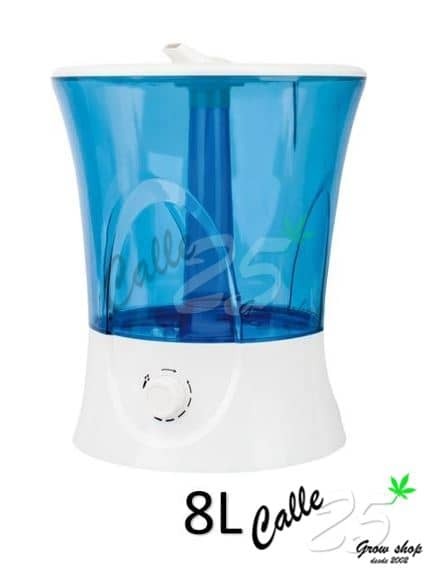
The smaller the tank in which the water is stored, the more frequently it takes to refill or remove water, and conversely, the larger the tank, the longer it takes to add or remove water.
We recommend controlling the air inlet and outlet, because if we have more powerful air extractors than necessary for the crop, the humidity will escape through the extraction tubes.
FANS
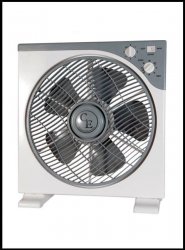
Fans are a good option to lower the temperature inside our tent or indoor grow room. They also have other positive functions, such as helping plants to photosynthesise and respire, moving air with excess carbon dioxide that the plant has already absorbed, avoiding the formation of air pockets and humidity.
If we use CO2 generators, we help to spread the gas to all parts of our tent.
Although personally one of the advantages of indoor growing fans are the air currents. Thanks to this air, our cannabis plants will create a resistance to the air, thus improving the strength of branches and trunk, getting a plant with a thicker trunk and branches through which many more nutrients will pass and improving the production of buds.
In Calle25 we offer you different models of fans:
- CLIP FAN
- OSCILANTE CLIP FAN
- FLOOR FAN
- PEDESTAL FAN
You can choose the cultivation fan that best suits you and your crop.
THERMOHYGROMETERS
As mentioned above, temperature and humidity are very important, and we use thermohygrometers to monitor the temperature and humidity level.
The thermo-hygrometer is a device that will indicate the temperature and humidity in which our indoor cultivation is, thanks to it, we will know if we have too little or too much humidity, and if the temperature is too low or too high.
The thermohygrometers should be placed next to the uppermost part of our plants, so that we know at all times what the maximum temperature of the plant canopy is. Thanks to this, we will know the distance at which the reflector should be placed.
There are different models of thermo-hygrometers, from the most basic thermo-hygrometers to thermo-hygrometers with different probes, in order to know the temperature and humidity in different areas of the grow room.
- BASIC THERMOHYGROMETER
- THERMOHYGROMETER WITH PROBE
- THERMOHYGROMETER WITH 3 PROBES
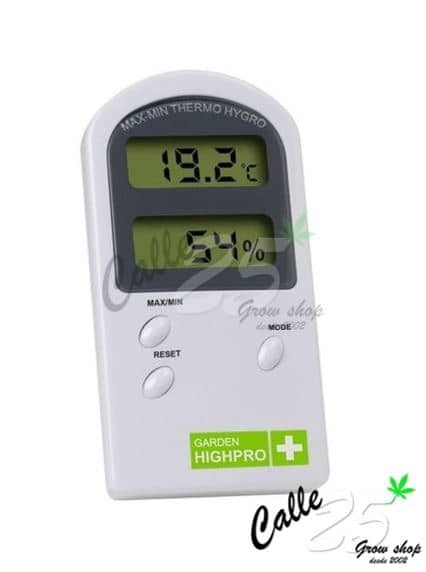
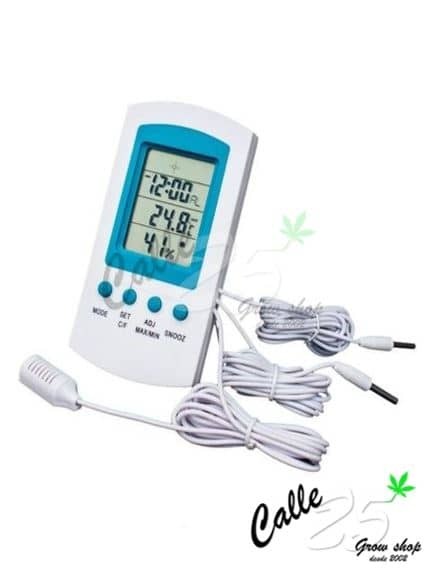
Thermo-hygrometers for indoor cultivation offer a reset option, so that you can find out what the temperature and humidity has been for a desired period of time.
CONNECTION ACCESSORIES
The category of connection accessories consists of different products for making connections. It is important to use connection pipes in order to be able to extract the air from our indoor cultivation to the outside of the room.
What would happen if we did not connect extraction pipes to the outside?
When we extract the air from our indoor growing, we are extracting CO2 (carbon dioxide) that the plant has transformed from the O2 (oxygen) of the fresh air it has received. If we do not extract this air, to the street and leave it inside the room, our plants will be feeding back on this CO2 and not on the O2 necessary to carry out photosynthesis. For this reason, it is necessary to place a connecting tube to the extractor to take the air to the outside.
To extract the air from the extractor, we use the aluconnect tube, an aluminium tube with which the air will be conveyed. It is advisable to connect the carbon filter with the extractor fan using the aluconnect tube.
In addition to the aluconnect tube, we also have the sonoconnect tube. It is a tube similar to the aluconnect tube with the difference that it has a thick layer of rock wool inside, with the aim of silencing the air passing through the tube, and having a more discreet crop.
As with the extractor fans, the tubes are measured by the diameter, adding 2 millimetres to fit the size of the extractor, i.e. if we have an extractor fan 100, we will need an aluconnect tube with a diameter of 102.
- ALUCONNECT TUBE 102
- ALUCONNECT TUBE 127
- ALUCONNECT TUBE 152
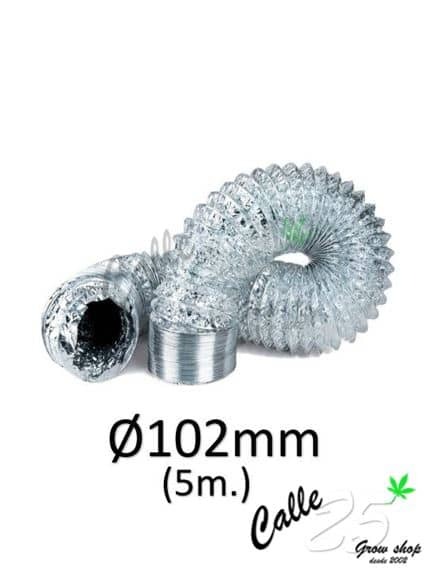
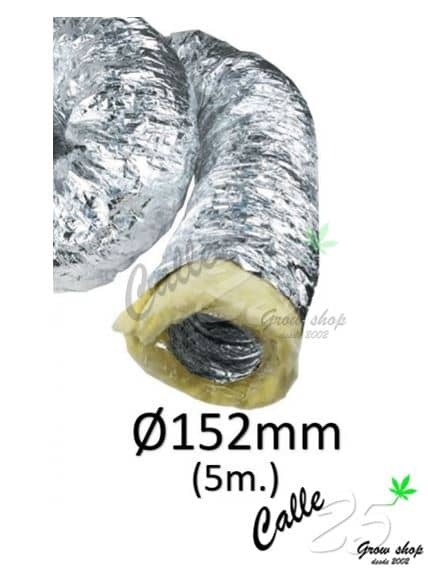
We also find elbows and "y griegas" to be able to orientate, join or divide the air outlet. Diameter reducers, in the case of not finding a carbon filter or tubes that adapt to your indoor growing and you need lower or higher measures, you can use a reducer to get the desired size. Metal clamps to fix the tube and the extractor so that they do not separate.
CARBON FILTERS / ANTI-ODOUR
Carbon filters or anti-odour filters are only necessary in indoor cultivation and are responsible for neutralising odours. They consist of a thick "wall" filled with granulated activated carbon, which neutralises the vast majority of odour particles when air passes through it.
The anti-odour charcoal filter is only placed during the flowering phase, when the plant emits more odours, making it much more effective. In addition, if the humidity is too high (as is the case during the growth phase), the granulated active carbon becomes compacted and the filter can become clogged and deteriorate to such an extent that it does not allow air to pass through.
The anti-odour filter is located next to the air extractor, hang it sideways and connect them with a piece of aluconnect tube, so that the air extracted by the extractor passes through the thick wall of granulated carbon, absorbing all the contaminated particles and thus keeping the air in the indoor cultivation clean and extracted to the outside.
Like the connection pipes and air extractors, carbon filters also have a measure, the measure of the carbon filter is equivalent to the measure of the diameter of the mouth of our extractor. We only have to take into account the flow rate, which must always be higher than the flow rate of the extractor fan and is measured in m3/h. Therefore, if we have an extractor RVK 150 400 m3/h, we need a carbon filter 150 with a flow rate greater than 400 m3/h, such as the Prima Klima 150 620 m3/h carbon filter.
Different brands of activated carbon filters for indoor growing are available:
- Activated carbon filter Can Filters
- Can Lite carbon filter
- Falcon anti-odour carbon filter
- Garden High Pro anti-odour carbon filter
- Mountain Air anti-odour filter
- Prima Klima anti-odour carbon filters
- Pure Factory odourless activated carbon filters
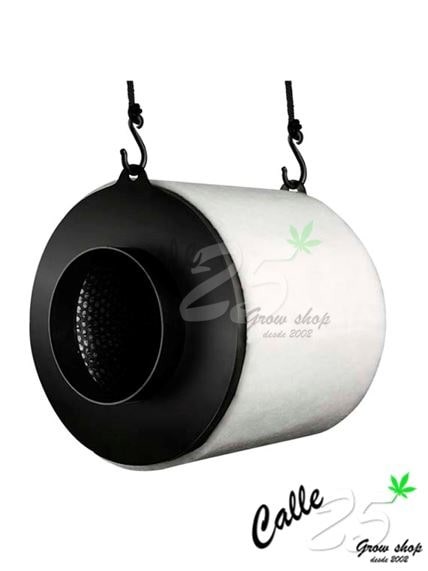
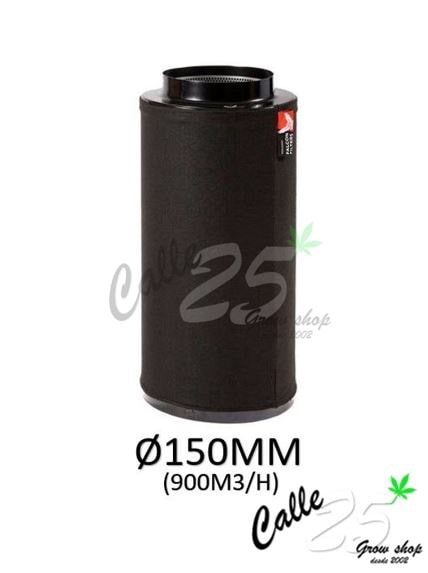
Depending on the filter and the brand, we find plastic carbon filters, such as the Can Lite odour filters, which are much lighter and therefore cheap carbon filters, in contrast to other activated carbon filters, which can be made of metal, such as the Mountain Air carbon filters.
But there can always be a little doubt or a slight odour that may come out, as most filters claim to absorb up to 80% of polluted air. For this we also have a solution, the odour neutralisers.
Eliminating the smell of cannabis
The odour neutralisers for cannabis, as their name suggests, are responsible for neutralising and absorbing part of the contaminated odour. Their use is very simple, they can be found in spray, block or gel form.
Spray: We will use it in rooms where we grow with a tent. Spray the Ona Spray in the room where you grow so that it neutralises the odours that remain in the environment. NEVER spray on the plants.
Block: It is a solid paste with a top opening to absorb the odour particles from the environment, as it absorbs it will dry, it can last between 3 - 5 weeks. We can place it inside the room, inside the growing room, drying area or wherever we want to absorb the odour.
Gel: Gel is the most commonly used, we recommend pouring a little Ona Gel in a small container and leaving it in the growing area, so that we can see how it evaporates and neutralises odours. Once it has dried, we can rehydrate it or replace it. It can be placed in charcoal filters, extraction tubes, grow tents, drying areas...
- ONA SPRAY
- ONA BLOCK
- ONA GEL
HYDROPONIC / AEROPONIC SYSTEMS
Hydroponic systems and aeroponic systems are indoor growing systems for plants.
In hydroponic systems, the roots of the plants are in an inert medium such as rockwool, coconut coir or clay, and are in constant contact with water.
In aeroponic systems the roots of the plants are in the air at all times and are supplied with nutrients by a spray system, which sprays water with nutrients continuously so that the roots are hydrated at all times.
With the systems for growing marijuana without soil, we will manage to improve the cultivation of our plants, so that we will do it in a more comfortable and cleaner way. At all times our marijuana plants have nutrients within their reach, thus achieving better development, higher production, greater resistance to pests and we can even harvest our plants earlier.
To cultivate with these systems we must take into account certain parameters that must be correct, otherwise we can lose our entire cannabis crop.
The pH of the water is very important in marijuana growing, because if it is not correct, the absorption of nutrients by our plants will not be optimal, especially if we grow in hydroponics, where water is the main growing medium. The pH of the water should be between 5.5 - 6.5.
The Electro-Conductivity also known as EC should be between 0.8 - 1.9 during the flowering phase.
The temperature in a crop is very important, and in hydroponics even more so, as the temperature of the tank should not exceed 24ºC. The ideal tank temperature is 20ºC.
- HORTIPOT
- FLORAGRO FN 500
- WILMA 10
Soilless cannabis cultivation systems such as hydroponic systems and aeroponic systems are not suitable for beginners, because a minimum of knowledge, experience and discipline in indoor cannabis cultivation is required.
The water in the hydroponic system must be in constant movement to prevent stagnation, so that the plants can feed on nutrients at all times.
To keep the water in motion, water pumps are used which are connected to the plug that is installed and through a silicone tube through which water will come out to mix the nutrients and prevent them from descending to the bottom of the tank.
- ATMAN WATER PUMP
PLASTIC POTS
We find plastic pots in different sizes and sizes. Depending on our way of growing, the type of plants and where we grow, we will use one size or another.
Choosing the pot is an important decision that will be preceded by the space where we plant, whether it is indoor or outdoor cultivation, and by the type of plants, it is not the same to grow autoflowering plants as feminised plants.
Pots for indoor and outdoor cultivation
In outdoor cultivation it is important to use light coloured pots, white, grey, so that the sunlight is not absorbed by the pot, so that the substrate and the roots are kept at an ideal temperature for their correct development. Large pots are used so that a good root system can develop and the plant can produce a large yield.
In indoor cultivation it makes no difference what colour the pot is, although the vast majority are usually black as they are the cheapest pots.
During the first days of the plant's growth, the size of the pot will not be a question, but which pot is best for my crop?
- POT 1L
- POT 7L
- POT 25L
If we grow indoors we can use the pots we want, depending on the number of plants we want to grow in a space, if we grow seeds or cuttings, or if we decide to grow in SCROG or SOG. If you grow your own plants in a simple way, with seeds, we recommend growing indoors in 11 litre pots.
In outdoor growing we usually use pots no smaller than 18 litres, as would be the case with autoflowering marijuana seeds. Autoflowering plants usually reach approximately the height of the size of the pot, so the higher the pot, the bigger the autoflowering plant will be. We recommend white pots of 25 litres.
Feminised plants tend to spend more months in the growth phase, which is why we must use large pots to increase production. If we use small pots our plant will not be able to develop the root system and will not grow as it should. The bigger the size of the pot, the more production the plants will give us. We recommend at least 45 litre pots.
Important: When growing autoflowering seeds outdoors, we recommend always growing in the final pot, we do not recommend transplanting autoflowering varieties. On the other hand, if you grow feminised seeds, you can use smaller pots and transplant into larger pots to increase the root growth.
INSECTICIDES / FUNGICIDES
Just as with all types of crops and plants there is a risk of contracting insects or fungus, cannabis is no exception. Insects or fungi can damage our plants and even destroy our entire crop, which is why we must be vigilant at all times, checking our plants, leaves and buds to ensure that everything is progressing as it should.
Insecticides for cannabis
There are different products to combat this type of pest, although we always recommend prevention from the beginning of the crop. Preventing our crop from the beginning allows us to have much healthier crops and to scare off possible threats that could kill it.
Insects can visit us at any time and it can be in our indoor and outdoor crops, if they have the ideal conditions for their development, be sure that they will love your cannabis crop.
There are several insects that can damage our crops, such as caterpillars, red spider mites, whiteflies, aphids, thrips, mealy bugs, slugs and snails, spider mites...
- RED SPIDER INSECTICIDE
- INSECTICIDE THRIPS
- SNAIL INSECTICIDE
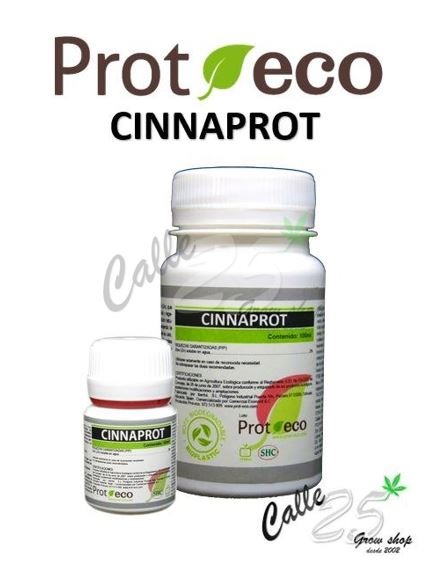
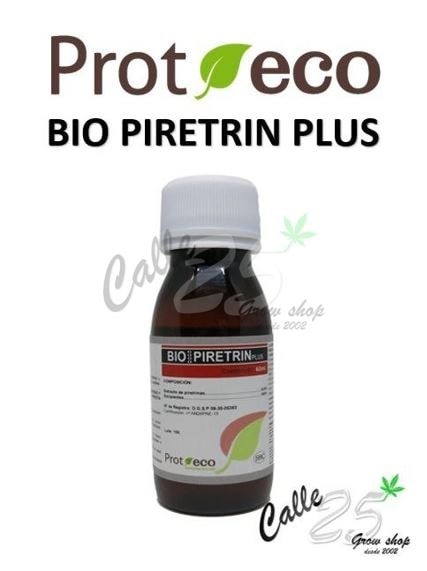
Fungicides for cannabis
Fungi are another external pathogen that can affect our indoor and outdoor crops. We can find fungi that are easy to see and treat, such as powdery mildew, or fungi that rot our crops, such as botrytis or grey mould.
The most common fungi in cannabis grow comfortably within the parameters established for the correct development of our crop, such as humidity and temperature, which is why we must pay attention to the plants at all times.
There are several fungal diseases that attack cannabis in different ways: powdery mildew and botrytis already mentioned above, downy mildew, rust, phytium, fusarium...
- POWDERY MILDEW FUNGICIDE
- BOTRYTIS FUNGICIDE
- MILDEW FUNGICIDE
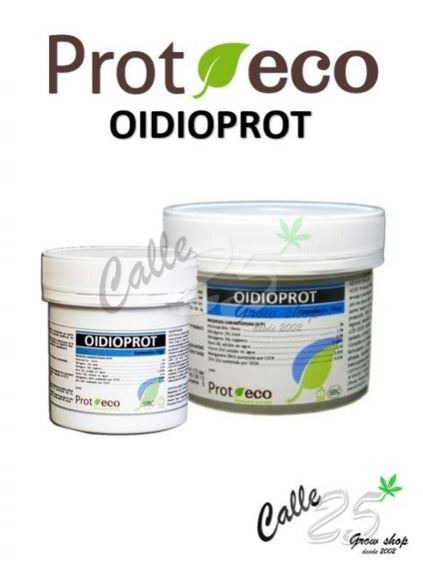
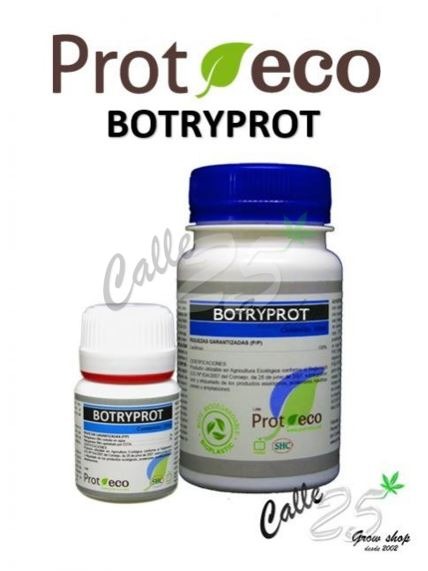
Often an insect infestation weakens the plant's defences and can lead to the appearance of fungus, and vice versa, if we have seen some caterpillars on our plants, we may be unlucky enough to be visited by botrytis and lose the entire affected part. If you find yourself in any situation in which one or more external pathogens have visited your plants, give them all the care they need to be able to recover your crop so that it does not spoil.
There is a solution for all of them and the most important thing after prevention is to deal with them as soon as possible to minimise the damage caused as much as possible. Visit the pest and disease treatment blog to learn more about how to treat cannabis diseases.
MICROSCOPES AND MAGNIFIERS
Microscopes and magnifying glasses can be used for various functions in indoor and outdoor cultivation.
The two main functions for the use of the microscope and the magnifying glass in cannabis cultivation is to be able to observe our flowers more closely.
We will use microscopes and magnifying glasses to identify any tiny pathogens, such as fungi or insects, so that we will know which insect or fungus it is. If we cannot see them with the naked eye, we will zoom in to recognise or photograph them so that we can treat them.
The main factor would be to know the ripening of our flowers. Observing the trichomes of the buds we will know the exact moment in which we should harvest our plants, depending on whether we are dealing with an indica or sativa plant, the trichomes will adopt certain colours or others, and depending on the effect we are looking for, we should harvest them at one time or another. To know the types of trichomes that exist, we recommend that you visit our blog to learn about the different stages of trichomes.
For this purpose, there are different models of microscopes and magnifying glasses, with higher or lower magnification, with LED, with a clip to attach it to the phone, among many others.
- MINI LED MICROSCOPE
- CLIP-ON LED MICROSCOPE
- MAGNIFIER LIGHT
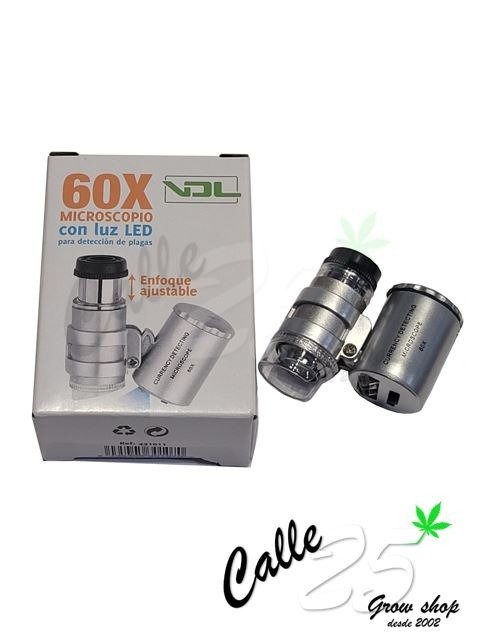
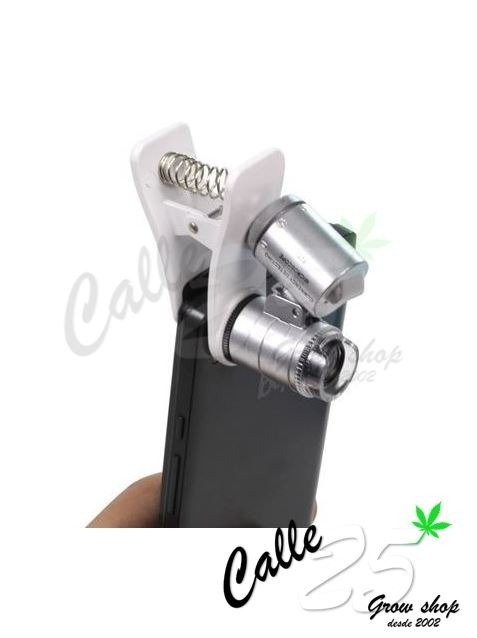
The higher the magnification, the more we magnify what we see, improving our vision.
One factor to note in the use of microscopes and magnifying glasses is that at the moment we use them, they must be practically touching what we want to see and focus on. If we don't do it that way, we won't be able to see anything but blurry.
HARVEST
Harvesting is one of the most awaited moments for every grower, but it must be done at the right time to maximise the results of our indoor and outdoor growing. Using microscopes or magnifying glasses to recognise the trichomes on your plants and deciding that it is time to cut your harvest, you will need pruning tools.
Cannabis scissors and peelers
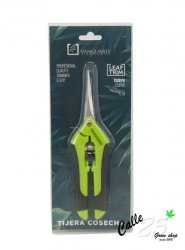
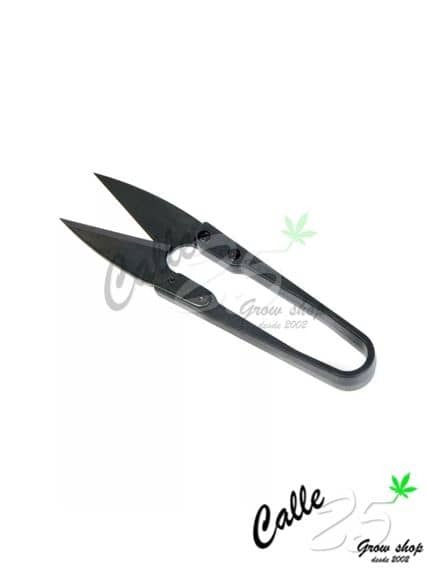
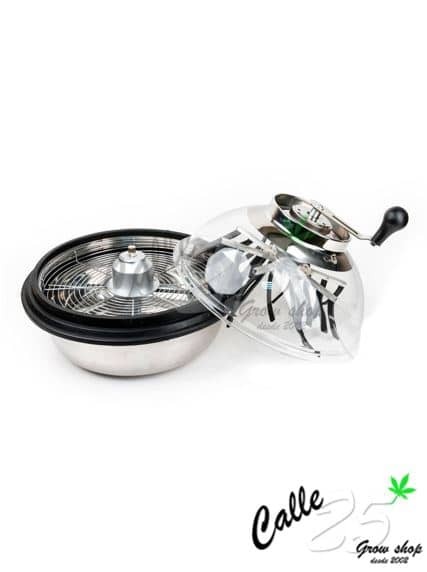
When cutting the plants, we should use scissors to cut the excess leaves from the buds and achieve a better appearance and faster drying. Another option is to use peelers if you have a large amount of cannabis to trim. We recommend that you read "manicuring marijuana" to get an idea of how it should be done.
- MINI GRIP SCISSORS
- CURVED TIP SCISSORS
- PRO-SPIN PEELER
Dryers for cannabis
Once the buds have been manicured, they must be dried, for which mesh dryers are usually used. Cannabis dryers are vertical perforated meshes divided into different floors to maximise space, so that air can pass between them and the buds can dry properly. Drying cannabis is another important step to take, because if it is not done properly, we can lose quality, weight and even spoil the buds. Therefore, Calle25 invites you to review how to dry marijuana buds, and not lose anything from your indoor and outdoor cultivation.
- FOLDING DRYER
- ROUND DRYER 55CM
- ROUND DRYER 90CM
Canisters for storing cannabis
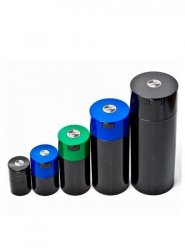
Once we have dried the flowers, we must cure them to improve their flavour and finish extracting any moisture that may remain inside the buds. To do this, we must store the cannabis in jars, such as the Tight Vac vacuum jars, which will allow the buds to cure well, and the vault humidity envelopes that allow us to regulate the humidity of the atmosphere in the vacuum jar, preventing them from rotting.
- VACUUM BOTTLES
- BOVEDA DAMP-PROOF SACHETS
- INTEGRABOOST SACHETS
Once the herb is cured, it is time to store it. If desired, it can be stored in vacuum canisters, as there is no air, so it will not spoil. However, another possibility for those growers who have too much plant matter, is to store it in conservation bags, together with vacuum packers, to preserve its quality. Visit how to preserve marijuana if you want to store your harvest for a certain period of time.
PH / EC METERS
The pH and EC (Electro-Conductivity) are two important factors to take into account in plant nutrition, because without correct values, we will not achieve the maximum potential of our indoor and outdoor cultivation, and we may lose yield, poor absorption of nutrients, therefore there are nutrient deficiencies and diseases may arise.
pH meters
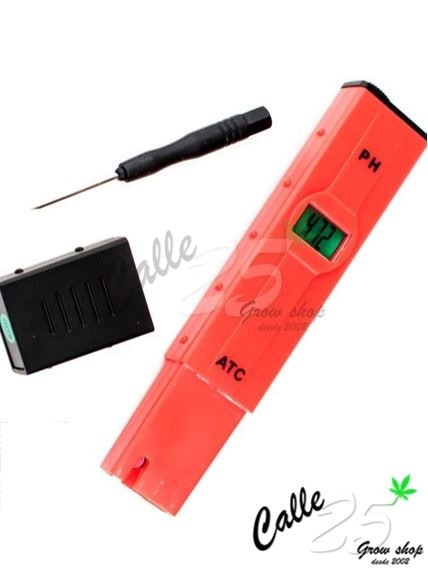
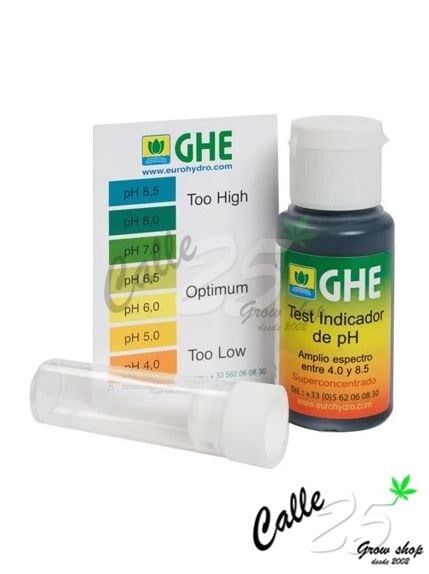
pH meters are used to measure the acidity of the water and the optimum values for plant cultivation are between 6 - 6.5. If the pH of the water is below these values, the pH of the water is acidic, if it is above these values, the pH of the water is alkaline.
You can measure the pH of your indoor and outdoor growing water, with manual pH meters and digital pH meters.
- KIT TEST PH
- DIGITAL PH METER
- LIQUID PH CALIBRATOR
EC Meters
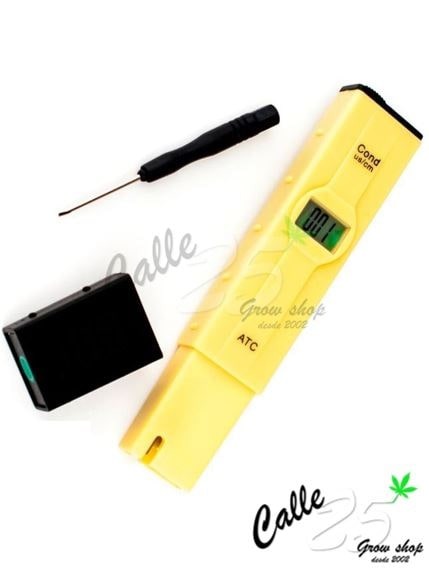
EC meters indicate the level of mineral salts or nutrients in the water. Thanks to this, we will know at all times the amount of fertiliser we should give to our plants.
As the plants grow, the EC levels increase and can reach levels ranging from 1.8 to 2.2mS/cm, depending on the variety or type of plant.
- DIGITAL EC METER
- LIQUID CALIBRATION EC 1.4
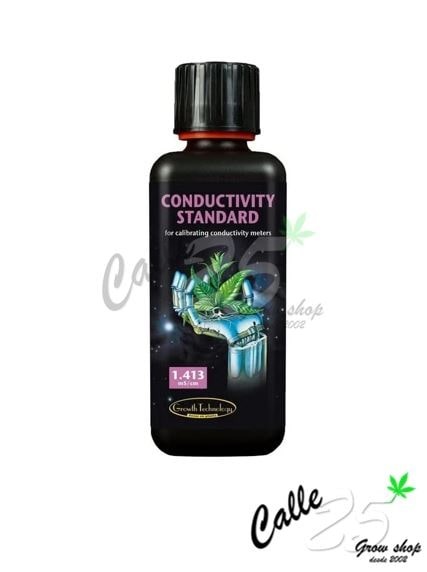
With the pH and EC calibration liquids we can calibrate and stabilise the parameters of the meters, so that they can always give us the correct results.
MATERIAL FOR CUTTINGS
To make clones or cuttings we will need tools to be able to make them in the best way.
First of all, we must choose the cuttings we want to cut, so we will need a scalpel, scalpel or scissors.
- SCALPEL WITH SHEATH
- STRAIGHT TIP SCISSORS
When we have cut our cuttings, we introduce the cutting into the gel. If we cut more than one cutting we recommend placing them in a container with water. We can find different rooting gels.
- I CLONE
- CLONEX
- CLONFIX
Once we have the cuttings with the gel ready, we introduce them in the substrate that best suits us, we can use rock wool cubes, coconut fibre cubes, soil...
- EAZY PLUG TRAY
- ROOT RIOT
- ROCK WOOL IN STUDS
Once we have placed our cuttings in the substrate that best suits us, we recommend the use of greenhouses for better root development.
- PLASTIC GREENHOUSE
- PLASTIC GREENHOUSE
- GREENHOUSE WITH LIGHT
For more information on how to make your own cuttings step by step, and all the necessary parameters for their correct development, we recommend that you visit How to make marijuana cuttings?
ACCESSORIES FOR CANNABIS CULTIVATION
You can buy growing accessories at Calle25, where you will find everything from nets for SOG and SCROG crops, sprayers to spray insecticides or fungicides on your plants, tutors to support the weight of the buds, wire with plastic protection to join the plant and the tutors, gloves...
If you need any product of material for indoor and outdoor growing and you don't find it available on the web, you can contact us and we will help you to find the material that best suits you.


